Have you all seen the winter-scene-in-a-mason-jar tutorials? This is like that but thrifty, kid-friendly, and you can change it out with the seasons.
Winter rabbits?!
Cardinals?!
Seriously, what's not to love?! I found the supplies at my local dollar store and at the local art store. The Dollar Store had the glass globes (candle holders, y'all!), reindeer moss, Epsom salt (that's your snow!). The art supply store had the trees, rabbits, birds (in the doll house section), and the shaker pegs (mushrooms). The whole shebang cost me about $15. That's for FOUR. Imagine them on your holiday table, lit by candle light from your handmade candle sticks (yeah, that's tomorrow). Sigh. SO PRETTY.
Let's start with the shaker peg mushrooms, shall we?

You'll need
Paint: black, red, white and yellow. (any kind of acrylic paint will do)
Small paintbrush
TWO toothpicks
Rinse water for your paint brush
1 package of shaker pegs (available at your art and crafts store in the aisle with all the wood cut-outs)
What's a Shaker Peg? It's a small wooden piece that you attach to a flat piece of wood to hang stuff on. Conveniently for us, they are mushroom-shaped, which saves us from having to spend $3 on two tiny mushrooms.
Step one: Paint the bottom of your mushroom white--this is the stem part.
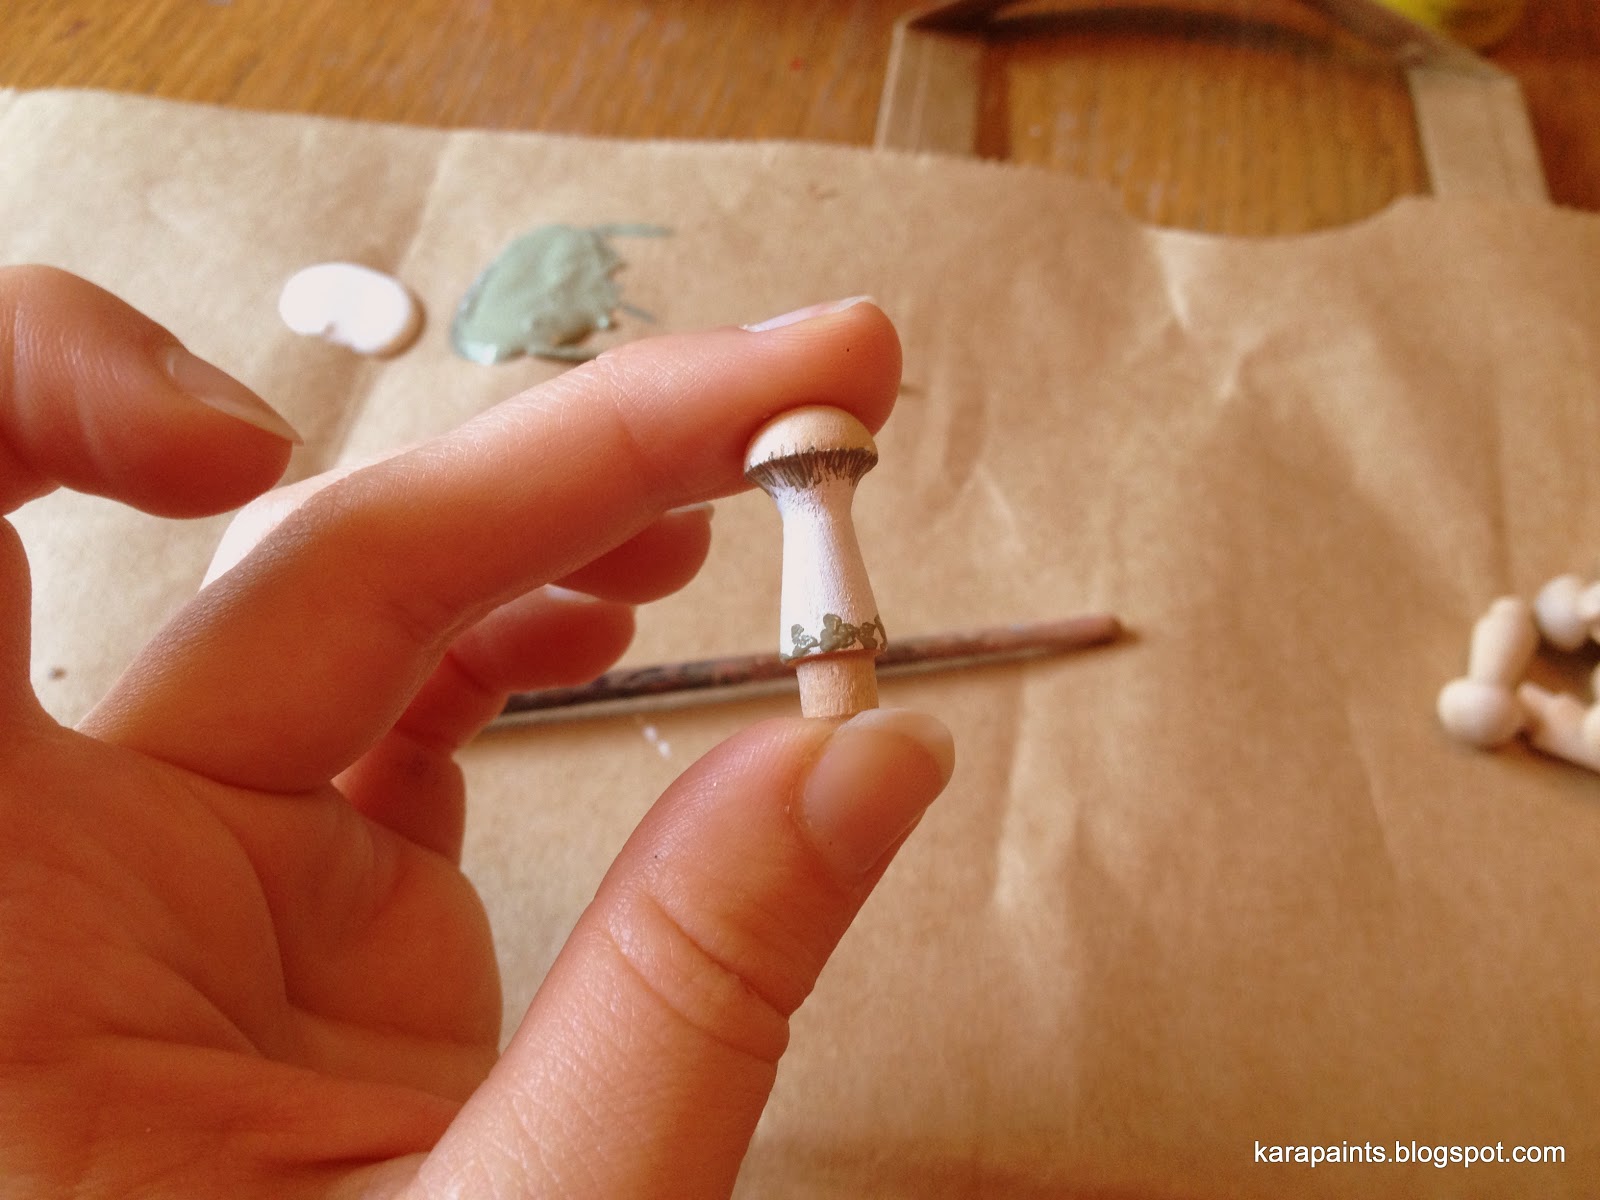
Tip: Mix your own mushroom-gill color. One drop black, two drops yellow, two drops white. Use a toothpick to mix.
Step two: Use the toothpick you used to mix your gill color to paint the gills ON. Dab a bit of paint on the underside of the mushroom cap and drag the toothpick through it until it looks like this:
Do that all the way around the underside of the cap.
Then dab some of the gill color around the bottom of the stem. Set aside to dry--it shouldn't take very long.
Step three: Use your brush to paint your mushroom cap red.
Step four: Use the second toothpick to give the mushroom cap white spots.
Cute right? You can leave it like that OR you can tacky-glue some reindeer moss to the bottom of the stem.
Now it's time for the diorama!
Supplies
Bowl-shaped candle holder
Bottle brush trees
Tiny woodland creatures
Epsom salt
Reindeer Moss (optional)
For super-snowy snowdrifts, put your tree in first.

Then add your Epsom salt. I have found that filling it about 1/3 of the way full is about right. But play around with it and see what you like best.
Arrange your woodland creatures and mushrooms as you like. Generally speaking, you want between 3-5 objects in your jar. That gives it the sense of being a "scene", rather than "somebody stuck a rabbit and some salt in a jar".
Not into rabbits? How about birds?
Easy enough that my feverish 8 year old had to make one.
And his 5 year old sister asked to make TWO. (She has always embraced the more=better concept. I just roll with it)