Friday, November 30, 2012

Photo Friday: Four-Gift Round Up


Tomorrow is the very first day of December! Don't panic. I have rounded up four tutorials of things you can make over a weekend.

Tutu Tutorial! This was way easy, and completely adaptable to the Fancy Pants on your list. Instead of buying elastic, I used the waistband from a pair of pants that she had blown the knees out of.

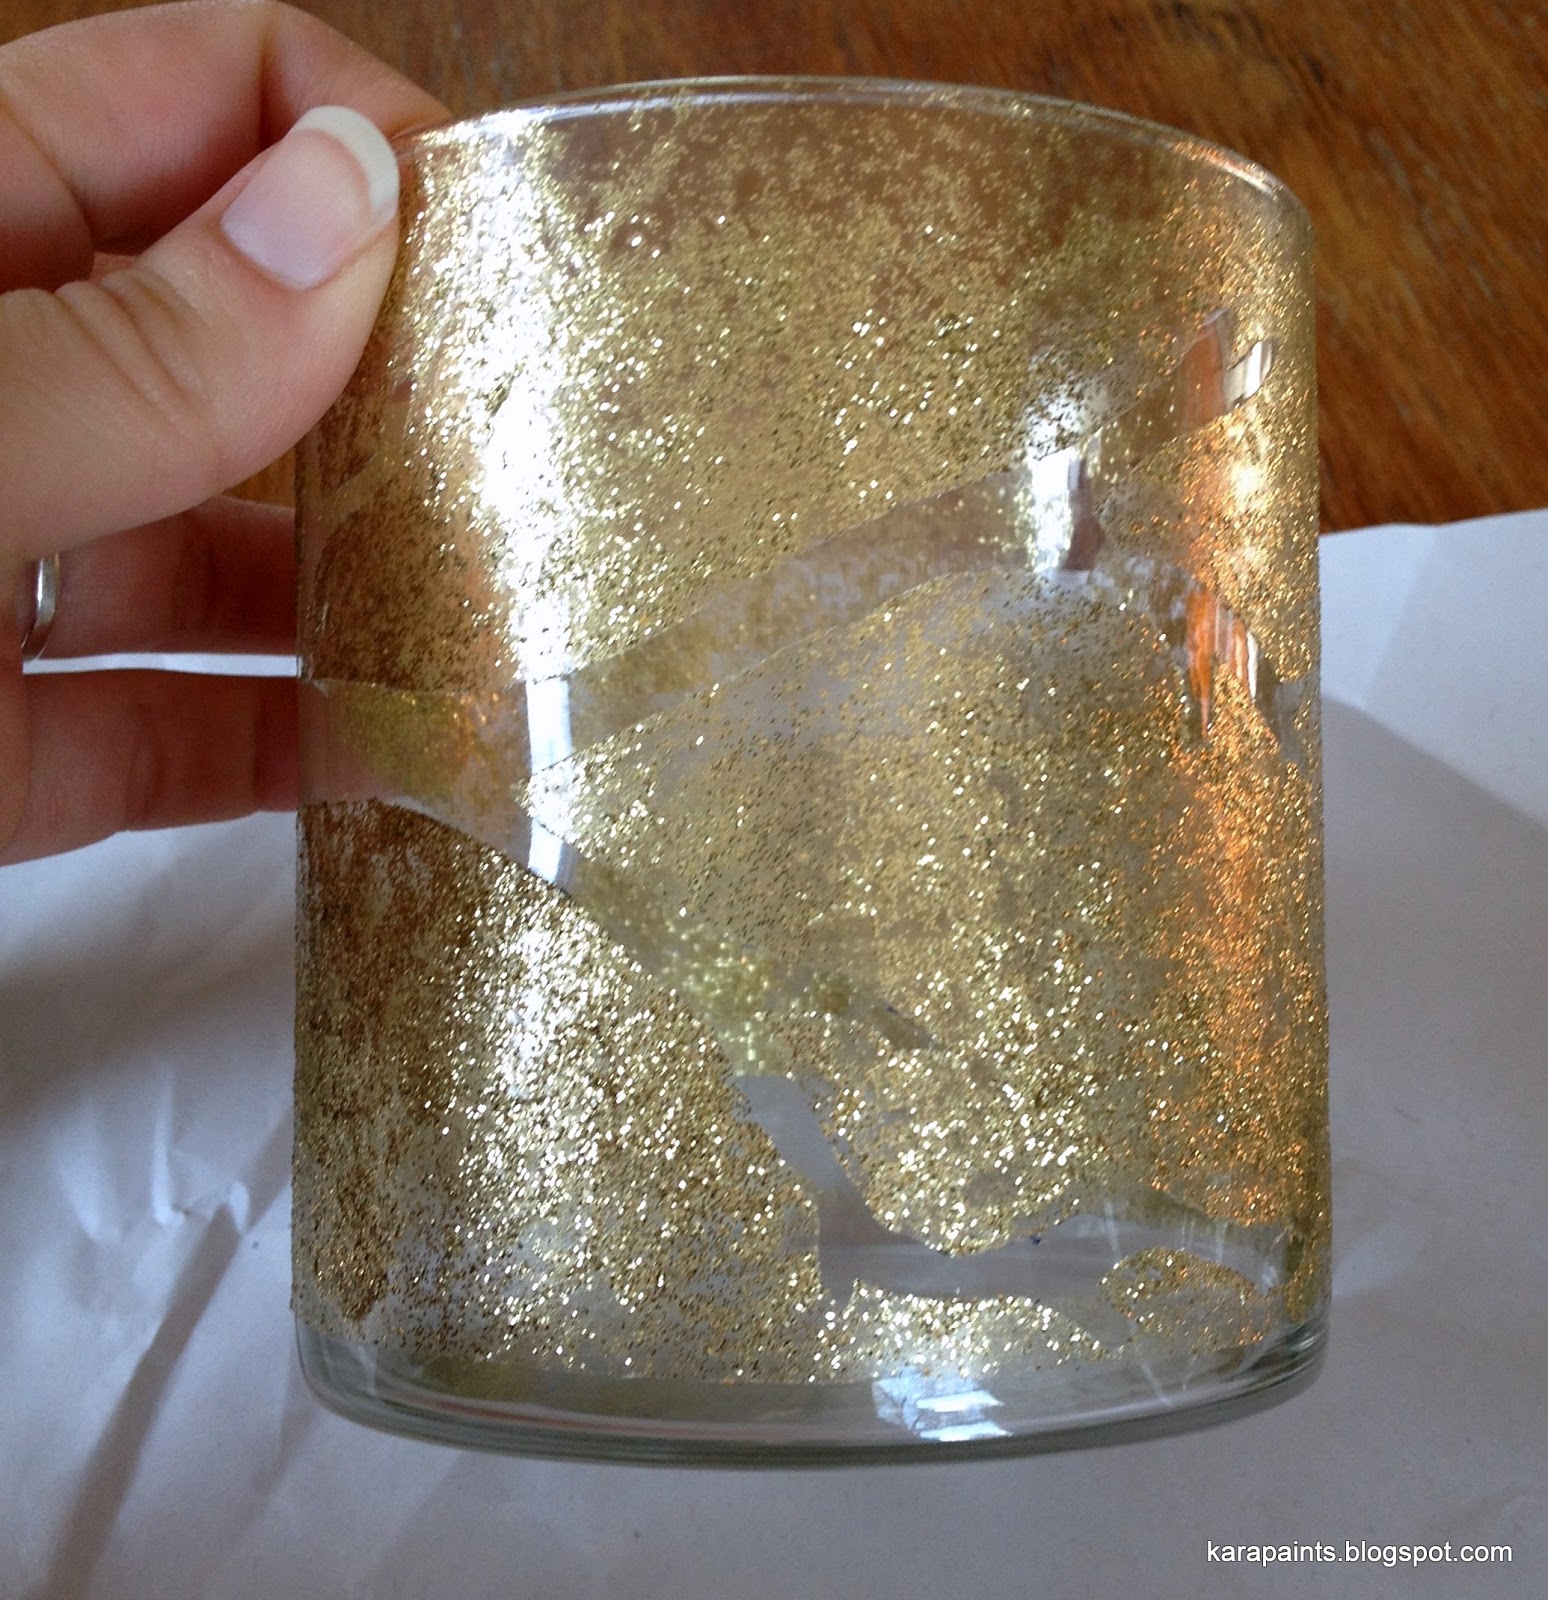
Gilded Jars! You can do old jam jars OR buy a six pack of votive candles and gild those.

Peg People! These guys are Elemental Peg People, but you could just as easily do Rainbow Peg People for the preschooler on your list.

Felt Slippers! I had a few wool sweaters with holes that were beyond repair, so I felted them in the washing machine before following Martha's tutorial. I have found the best way to felt sweaters is to throw them in with a bunch of towels, wash everything on HOT and HEAVY DUTY. It took 3 rounds to go from beloved sweater to felt for slippers. I wear a Medium/Size 8 and that was enough to make 2 children's sized sweaters.

Next week is ALL ABOUT THE GIFTIES! Tune in for more tutorials and great ideas.
Have a happy, crafty weekend!

Thursday, November 29, 2012

Little Good Deeds for Little Hands

I have polled my children, ages 5 and 8, on their top five Good Deeds. These are things that they have done, will do, and find enjoyable.

1. Making food for the neighbors. (Usually muffins, granola, or cookies)

2. Mailing letters to Grandparents (or other family members)

3. Putting away neighbor's garbage cans on collection day.

4. Helping to rake leaves or shovel snow.

5. Give people hugs.

In addition to these, I would like to add:

6. Bringing treats to the office staff at your children's school

7. Mailing thank you cards to the dentist/ pediatrician, teachers, fire fighters, or police officers.

8. Picking out food to donate to a food drive. (Give them a set amount to spend, between $5-$10)

9. Picking out blankets & towels at the dollar store to donate to a local animal shelter.

10. Call or visit an elderly relative. Have the kids interview them. Ask questions like: what was your favorite thing to do when you were my age? What was your favorite food? Who was your favorite movie star/baseball player/musician?
(For extra fun, hand the kids a toy microphone)

There are a few of our ideas. What's your favorite good deed?

Wednesday, November 28, 2012

Upcycled Casablanca Gilded Jars


Does it snow in Casablanca? I have no idea. If you know, please enlighten me. These jars were inspired by a whole bunch of things: Moroccan lanterns, painting on glass, and Peaches' gilded jam jars

There are a few important lessons that I learned doing this project. 
First: SIMPLE DESIGNS ARE YOUR FRIEND. Keeping it simple really is the key to success here. Gold leaf is super thin and will adhere to things via the magic of static. Which is why the front lantern looks great and the back looks (to quote my five year old) like a haunted house.
  Second: Mixing food color and ModPodge doesn't give you super-awesome-vibrant colors. I'm going to have to actually spring for actual glass paint if I want jewel tones (so much for being thrifty) 
Third: Gold leaf sealer is stinky. Open a window. 

Got all that? Ready to make some gorgeous candle holders? 


Supplies 
A clean, empty jar
Paint brushes (a big flat one, and a soft one)
A bowl for mixing glass paint
ModPodge
Food coloring
Rinse-water jar (I add a drop of dish soap to keep the ModPodge from settling in the brush)
Gold leaf, gold leaf adhesive, gold leaf sealer (Got mine at Michael's)


Step one: Mix up your glass paint. I went with green because I like green and gold together. I used Lucy's recipe of 1tsp ModPodge, 1.5 tsp water, 3 drops of food coloring. 


Step two: Paint the inside of your jar.


Step three: Set aside to dry. I did mine upside down because I didn't want a big pile of glue & food color at the bottom of my jar. How great is that green? I loved it. Sadly, it was not to stay. 


Step Four: While you wait for your paint to dry, Google Image Search Moroccan Lanterns, and come up with some pattern ideas (Or just use mine). On the haunted house lantern, I was going for a design like the large one on the bottom of the right page.


Step five: Paint your patterns on the outside of the jar with gold leaf adhesive. REMEMBER: Simple works best! Let the adhesive dry according to the directions on the bottle.


Step six: Get out a sheet of gold leaf. (I like the stuff that's already stuck on a paper backing. It's easier to handle)


Step seven: Apply the gold leaf to your jar. Rub the paper side to make sure the gold is sticking.


Tip: Use your soft brush to smooth out air bubbles and flatten out fly-away pieces of gold.


Step Eight: Seal your gold leaf according to the directions on the bottle.


This is what they will look like without a light inside. More sea-glass-meets-Casablanca, but still pretty. 

Have fun with it. Gold leaf is great stuff. It is an easy way to add bling to just about anything, it's inexpensive, and it makes candle light look a million times better. 


Monday, November 26, 2012

Quote of the Week

December is nearly here and in an effort to get on Santa's nice list the kids have been super helpful. Which works out to my advantage, so I don't mind at all.
We'll be coming up with a list of good deeds that are easy for the under-10 set, so look for that later in the week.
Have a good Monday, and be sweet!

Friday, November 23, 2012

Black Friday Photo


Hey there!

I don't know about you, but I am avoiding all retail establishments for the next 4 days. Instead, I have been working on presents and walking through the woods at the end of our street.

I am planning a handmade holiday and I have been working on tutorials so that you can have one too. Tune in next week for the Handmade Gift Parade! It will include tutorials by me, plus links to some of my favorite tutorials by other crafty people.

Have a great weekend.

Thursday, November 15, 2012

Trees


I dug through my photo archives and discovered that I photograph trees A LOT. In every season. Here's a sampling of some from the past few years.

If you want some good reading this weekend, I recommend "Red Sings From Treetops: A Year in Colors" by Joyce Sidman and Illustrated by Pamela Zagarenski. Yes, it's a children's book. It's beautiful; full of textures and colors and yes, trees too.

And there's a tree-themed craft over at The Pagan Village this weekend, penned by me.

Wednesday, November 14, 2012

Branch Out Glitter Jar Tutorial


Say it with me now: oooooh, sparkly! As the season of gifting is approaching with rapid speed, it's good to have a few gifts you can pull out of your pocket. This jar is a multi-tasking gift-givers dream. You can fill it with food, candles, gift cards, or put flowers in it. The whole project costs about $10, and all of the supplies are readily available at craft stores. I got my stuff at Michael's.


Supplies: 
Lidded glass canister
Painters tape 2" wide
Scissors
Permanent marker
Sponge brush
Martha Stewart Crafts Multi-Surface Glitter Acrylic Craft Paint (I'm using Florentine Gold and Peridot)


Step one: clean any residue off your container with alcohol. I didn't have rubbing alcohol, so I used vodka. Works great!

Step two: sketch out a branch on your painters tape. (Stuck already? Google Image search "branch silhouette" Pick one you like. Print it out, cut it out, trace it onto your tape) Cut your branch shape out with scissors and smooth onto the outside of your glass. 


You with me so far? 
Great! 
Tape around the bottom edge, about 1/2 an inch up from the bottom. This gives it a nice finished look when you're done AND prevents the glass from sticking to your work surface while it dries.


Step three: Squeeze the paint directly onto the glass. Dab it around with your sponge brush. I am holding the glass on the inside and rotating as I go.

 
Step four: Wipe the paint off of the tape with a damp paper towel. Let it dry. I waited about 6 hours, and then did another coat of gold.


Step five: Peel off the tape. I neglected to wipe the paint off of the tape, so I had to cut around the tape with an exacto blade before I peeled it off. 
It's pretty awesome like that, but I am a big fan of CONTRAST, so let's add some more paint.


Step six: Apply your second color of paint directly onto your branch outline. Dab into place with your sponge brush. If you color outside the lines, just wipe it off with a finger. The wet paint comes right off of the dry surface.


Step seven: let it dry and then fill it with whatever your heart desires. I'm going to fill mine with homemade gingerbread granola. 


This post was inspired by Aunt Peaches and her glitter plates!


Tuesday, November 13, 2012

Trees and Poetry


The Maple Tree by John Clare
The Maple with its tassel flowers of green
That turns to red, a stag horn shapèd seed
Just spreading out its scalloped leaves is seen,
Of yellowish hue yet beautifully green.
Bark ribb'd like corduroy in seamy screed
That farther up the stem is smoother seen,
Where the white hemlock with white umbel flowers
Up each spread stoven to the branches towers
And mossy round the stoven spread dark green
And blotched leaved orchis and the blue-bell flowers—
Thickly they grow and neath the leaves are seen.
I love to see them gemm'd with morning hours.
I love the lone green places where they be
And the sweet clothing of the Maple tree.

The Leaf And The Tree by Edna St. Vincent Millay
When will you learn, myself, to be
a dying leaf on a living tree?
Budding, swelling, growing strong,
Wearing green, but not for long,
Drawing sustenance from air,
That other leaves, and you not there,
May bud, and at the autumn's call
Wearing russet, ready to fall?
Has not this trunk a deed to do
Unguessed by small and tremulous you?
Shall not these branches in the end
To wisdom and the truth ascend?
And the great lightning plunging by
Look sidewise with a golden eye
To glimpse a tree so tall and proud
It sheds its leaves upon a cloud?

Here, I think, is the heart's grief:
The tree, no mightier than the leaf,
Makes firm its root and spreads it crown
And stands; but in the end comes down.
That airy top no boy could climb

Is trodden in a little time
By cattle on their way to drink.
The fluttering thoughts a leaf can think,
That hears the wind and waits its turn,
Have taught it all a tree can learn.
Time can make soft that iron wood.
The tallest trunk that ever stood,
In time, without a dream to keep,
Crawls in beside the root to sleep.
******************************************************************
There are literally hundreds of poems that feature trees. In all my travels, I love to watch how the trees change as you move from one latitude to the next. I love how something that we take for granted in our everyday wanderings changes as the seasons spin from one to the next. I love how the smell of spruce and pine makes me think of childhood Christmases, how the smell of lemons brings back spring in Sorrento.
What's your favorite tree?

Monday, November 12, 2012

Seventeen twenty


Happy Monday!

This week it's all about the trees. Tree crafts (one of which will make an excellent hostess gift next week), tree poetry (other people's not mine--I am a horrendous poet), and tree pictures. Possibly tree-related snacks if I can get the kinks out of this recipe I am working on.

You're right; none of that has to do with seventeen twenty. Seventeen twenty is the amount I was paid for my jury duty time on Friday. Seventeen dollars and twenty cents for driving downtown on a Friday morning, being interviewed and rejected. And thank goodness for rejection! It was a homicide trial, and I just don't know how well I would have held up through the whole thing. I'm pretty sure the reason I was rejected is because my dad is a lawyer and I get my news from NPR. 

That is why there was no Friday photo on Friday. I was inside a courthouse, praying that I would get out in time to get back to Tinley Park in time to teach my Friday night drawing class. (Which I did--hurrah!) 


Thursday, November 08, 2012

No-sew table runner tutorial


Fall is slowly sliding into winter, and with this change comes a boat-load of holidays that encourage us to gather our loved ones around a table piled high with food and be grateful. I usually set the table runner up on the table with the booze and glasses because the table is tiny and the people are many, but for illustrative purposes we're using the dining room table. 

This table runner is super fun, super easy, and can be done in about 15 minutes. Also, you can include the kids in this one. They love leaf-hunting and crayon-rubbing.


Supplies:
An Iron & Ironing board
Neutral-colored cloth, preferably cotton.
Leaves: 3-5 of different sizes or from different trees
Crayons


Step one: figure out how long you want your table runner to be, and cut that size out of your fabric.

 I usually lay the fabric on the table, and then fold the cloth until it's a size that I like. Generally, you'll want it to be 1/3 the width of your table. Length-wise you can have it go to the ends of the table, hang over the edge of the table, or have it stop about 12 inches from the edge. I like mine short because then you can seat people at the ends of the table and then I don't have to worry about kids pulling it, and everything else, off of the table (I learned that one the hard way).

Step two: flip your fabric upside down, and fold each side in a 1/2 inch. Press with an iron. If you want to keep your runner forever and ever, I would buy some fusible seam tape and iron your seams together that way.


Step three: Get out your crayons. Confession: I keep a bag of busted crayons for rubbing projects. The colors are up to you. You can match your dishes, use autumnal tones, or go mod with black and grey.


Step four: Place a leaf, vein-side up, under your fabric


Step five: turn your crayon on it's side and rub on top of the leaf. Use the fingers of your opposite hand to hold the fabric down flat while you rub.


Step six: Place leaves under the fabric, one at a time. For the best results, overlap them, turn them in different directions, and alternate colors.


Step seven: place your finished runner on your table with your upcycled tin can luminaries and some flowers or a bowl of fruit.


To attach ribbon to the luminaries, use scotch tape.


That's it! 
You can wash your table runner in COLD water, and then hang it up to dry.

Your opinions, please:
The photos from this post were taken with my IPhone. I think I'll need to edit the next batch first, yeah?

Monday, November 05, 2012

Be Humble. Be Noble.


Be humble, for you are made of Earth.
Be noble, for you are made of Stars.
--Serbian Proverb.


Friday, November 02, 2012

Happy Friday!


Happy Friday to you! I can't believe it's November already. I guess it's time to really buckle down on those holiday presents, hunh?

Our Halloween was splendid--Fiona was a vampire and Adrian was a mummy. 

There's a tutorial over on The Pagan Village.

And tonight I'll be over at Garden Gallery for the First Friday. 

Tomorrow I'll be at a friend's house drinking copious amounts of wine and watching as many episodes of AbFab as we can, sweetie darling. 

Enjoy your weekend!