

Hello! It is snowing like crazy here, and when it gets snowy I either craft or bake. My sister in law left me a mess of brownies earlier this week, so crafting won out.
How'd you like to make a tiny wolf? And later you can paint your index finger to look like Red Riding Hood and make an evening of it.

As per usual, before we get crafty, we get set up!
You will need:
Polymer Clay (black, white, silver, beige, and translucent)
Wipes (to keep your hands or rolling machine clean)
Tools: A needle tool (or a needle)
A sculpting tool (and I haven't found anything that substitutes really well, but you could try a bamboo skewer)
A cutting blade (an exacto, or a kitchen knife)
Rolling machine (this is for mixing your colors. You can use your hands, but if you use a 50% off coupon you can get a rolling machine for $14. And if you are going to be working with Polymer Clay it's worth every penny)
Ready?
Here we go!
Take equal amounts of beige & translucent and mix them up really well. No streaks or lines! This will be your face color. (Sorry I don't have a photo, I was on the phone for this part and forgot!) Set that aside. Wipe down your hands & machine.

Take a hunk of white, half as much black and half again as much silver. Run it through the rolling machine, bending it over until it's mostly mixed. Then set it down on your work surface and roll it into a log that is slightly thicker than your thumb.

Slice off a 2 inch-ish section, and a half inch section.

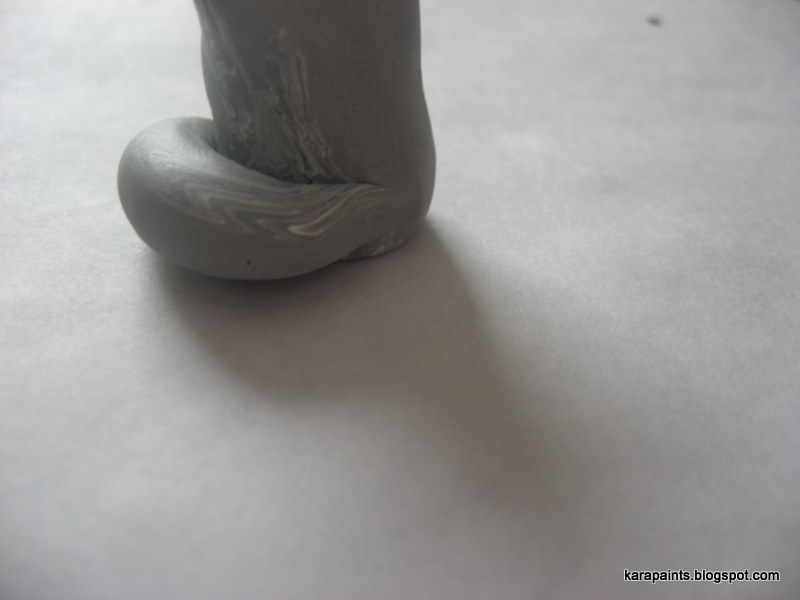
Stand the large roll up on it's end and kind of squish it down so it'll stand on it's own when you take your hand away. I like to smooth out that bottom edge with my fingers as well. Then take your sculpting tool and put it in the middle of the of the top. Press lightly & roll back and forth to create two peaks and a valley.

Pinch the peaks into pointy ear shapes.

Use your sculpting tool to make ear canals. I like to use the rounded end of the tool to widen the base of the canals to give it that canine cupped-ear look.

Take the smaller section that you cut off and roll it on your work surface to make it round. Roll the ends into 2 chubby points.

Curl it into a crescent.
Attach it to the back of your wolf and kind of smoosh it to keep it in place. (And wipe down your hands)

Next take a tiny bit of your translucent/beige mix and make it into a tiny oval. How much you use is up to you. Different faces sizes will give different impressions (old versus young, surprised versus suspicious) Play around with it and decide what you like best.

Make an indent in the body to place the clay into.
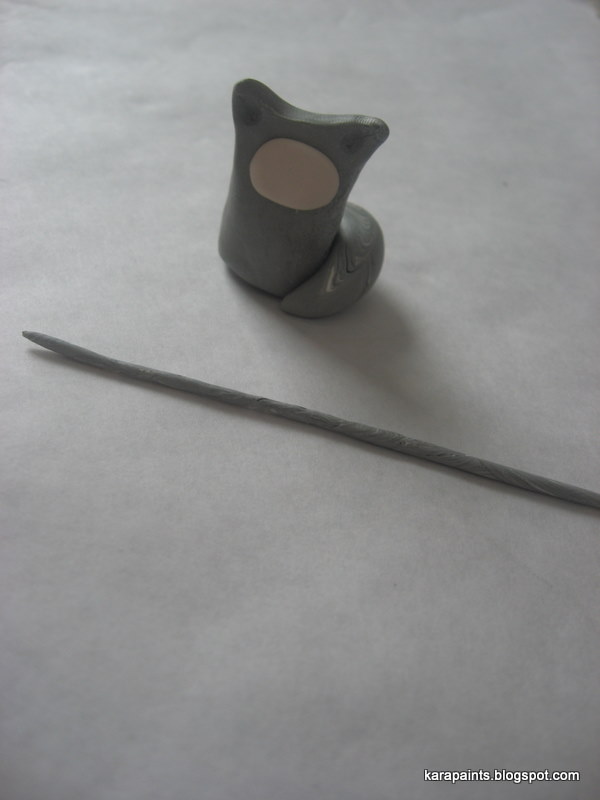
Place the face onto your wolf's body.(Your Wolf's Body would be an excellent band name) Roll out a thin rope of grey.

Wrap the thin rope around the face. At this point you can add details--use your needle tool to create lines on the tail to resemble fur, make a flower out of clay and put it behind the ear, play around & have fun.
Then bake according to package directions.
You can use this technique to make all kinds of animals, use an orangey-red for foxes or change up the tail and make the ears more pointy for cats.
How cute would these guys be in a fairy garden?!
No comments:
Post a Comment