

First things first! Assemble what you will need in front of you--I personally hate having to stop mid-project to search for my thingamawhoozer.
Supplies: A straight edge (could be a ruler, could be an old book)
A needle tool (or just a straight-up needle--you'll use this to scooch things around when using your hands won't work)
A cutting blade (the blades designed for use with polymer clay are nice, but an old paring knife works well too)
An old credit card (trust me)
Your selected image (I picked irises because they are my mom's favorite)
TLS (Translucent Liquid Sculpey. Find it in your sculpey aisle at your local craft shop or online)
Foil (for baking on)
Polymer Clay (in any color you like. I prefer Sculpey, but Fimo is good, too)
Wipes (for cleaning up your hands and tools)
And a rolling machine (or a rolling pin. I believe that you shouldn't invest in the tools until you are sure that you are going to stick with something)
Got everything? Good. Lay it all out in front of you.
Get a piece of clay that is silver-dollar sized, and run it through your roller machine on 01. (You know better than to cram your brick right in there, right? You have to smoosh it a little first)

When you are done, it should be about as thick as a nickle. (what can you buy with a nickle?)

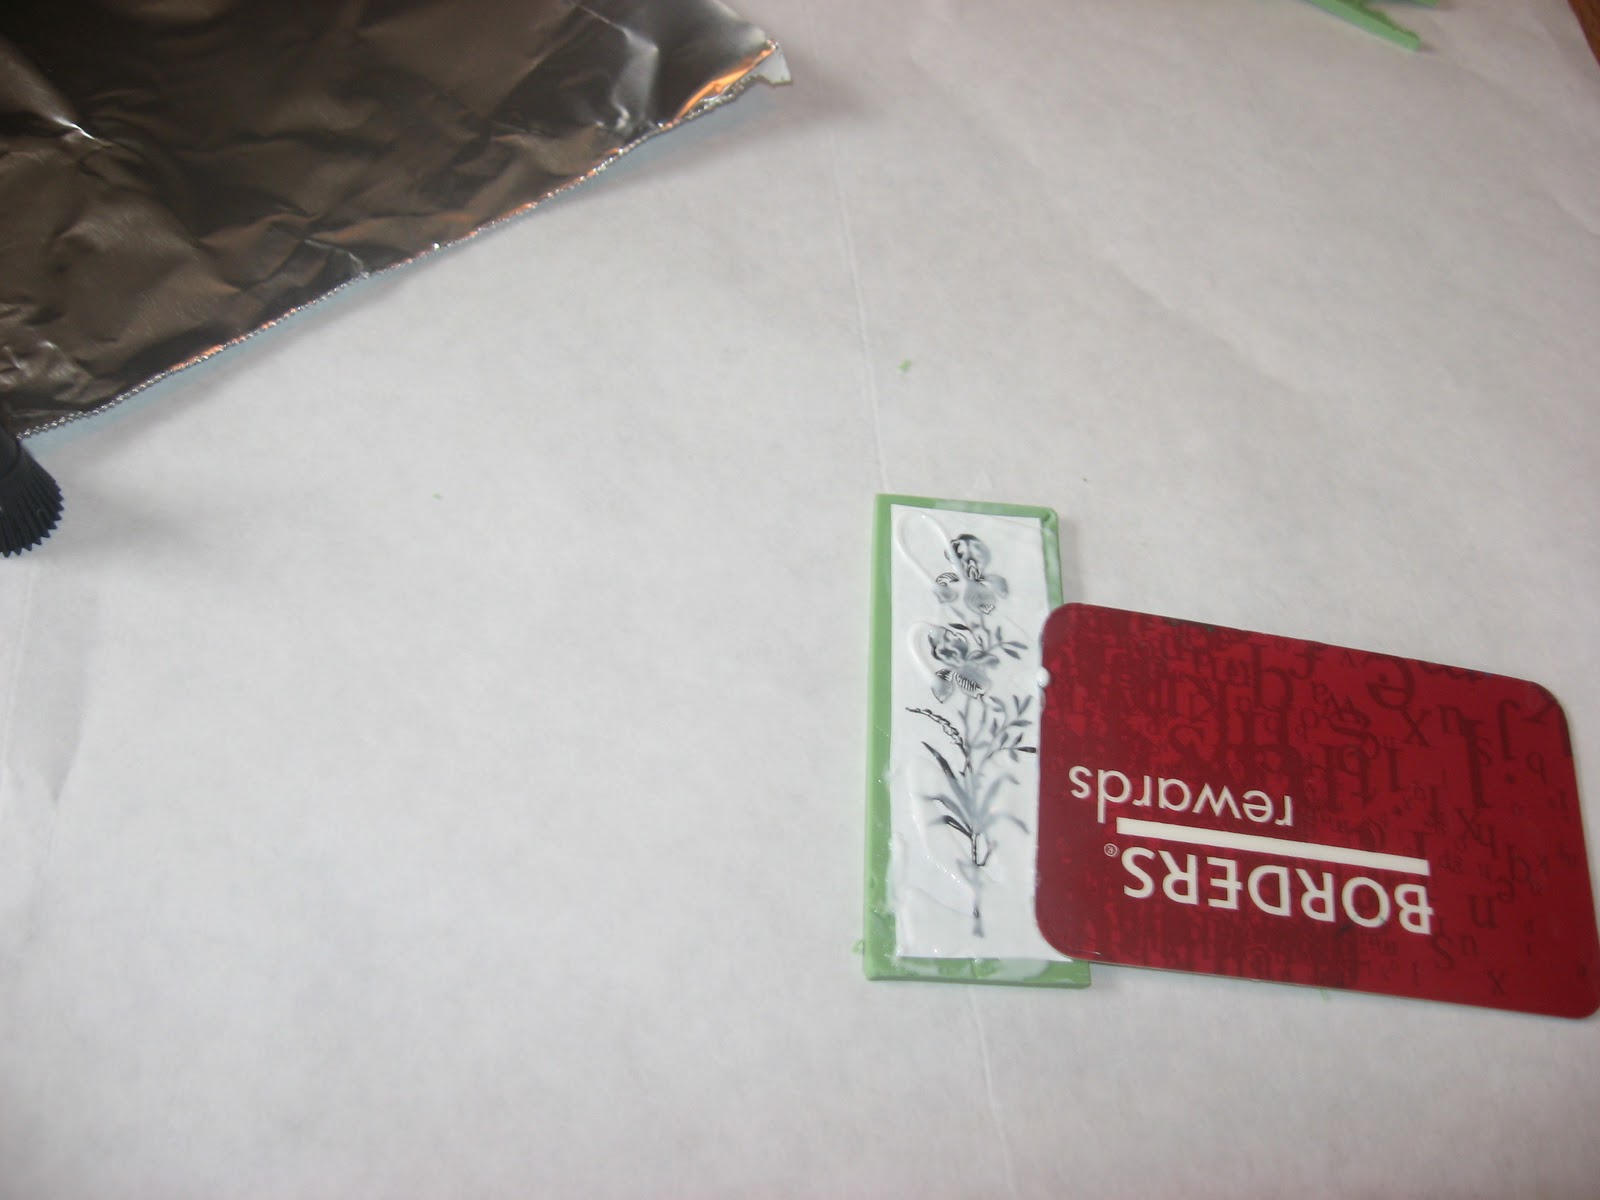
Lay that down on your work table and put your image on top. Go ahead with your cutting blade, and trim away the excess. Take your image off, and put it to the side.
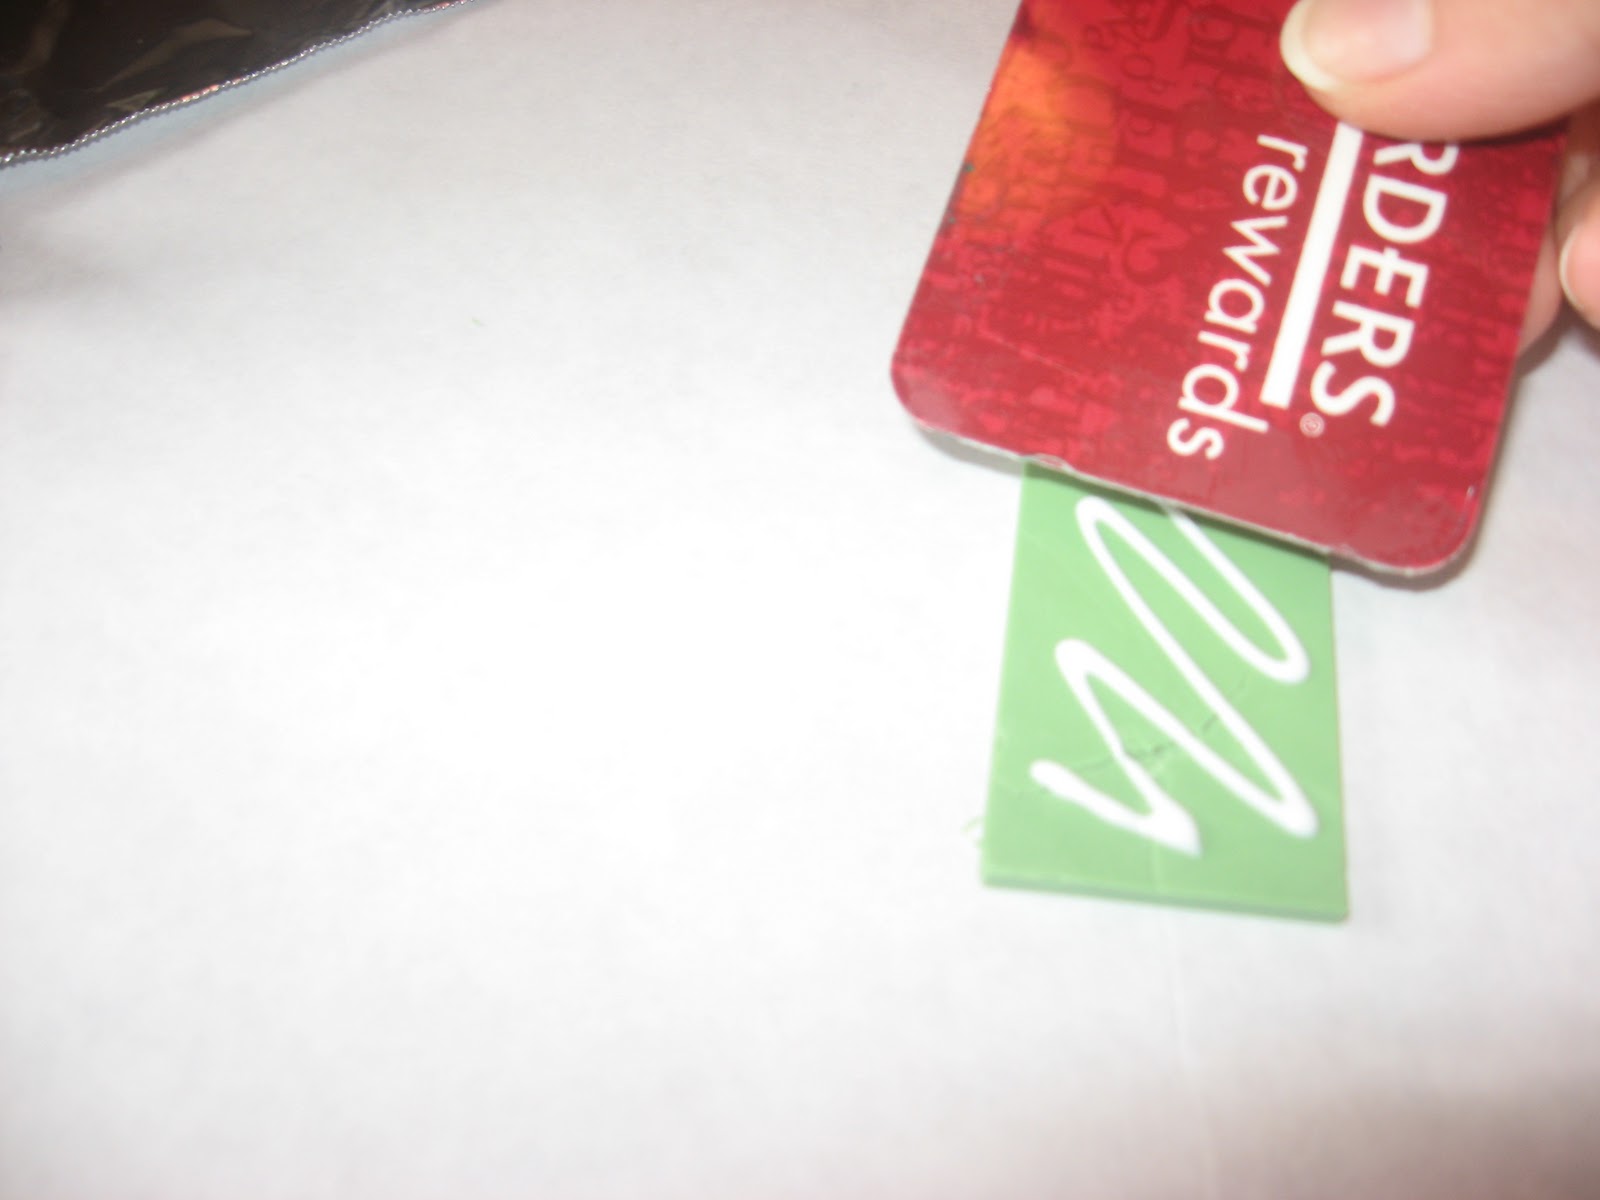
Then take your bottle of Translucent Liquid Sculpey and squeeze a wide squiggle of the stuff on your clay rectangle. Once you have your squiggle, smooth it out with that old credit card.


Plop the whole thing on the aluminum foil, make a tent over your piece and bake at 275 for 15 minutes (or what ever your package directions say). We tent so that the clay doesn't discolor from direct heat while baking.
Easy-peasey, right?
Go on and make a whole bunch of them! Poke holes in them, string them on cords and you have yourself some mighty fine holiday presents.
1 comment:
Once again Miss Kara...YOU. ARE. AMAZING!!!! Thanks so much for the tutorial! Hearing you describe the process made me a little scared yesterday on the phone. Seeing it laid out like this just plain ROCKS! Easy peesy! Thanks! Now I'm not too scared to try it! Keep your fingers crossed! Love ya!
Post a Comment