

Say it with me now: oooooh, sparkly! As the season of gifting is approaching with rapid speed, it's good to have a few gifts you can pull out of your pocket. This jar is a multi-tasking gift-givers dream. You can fill it with food, candles, gift cards, or put flowers in it. The whole project costs about $10, and all of the supplies are readily available at craft stores. I got my stuff at Michael's.

Supplies:
Lidded glass canister
Painters tape 2" wide
Scissors
Permanent marker
Sponge brush
Martha Stewart Crafts Multi-Surface Glitter Acrylic Craft Paint (I'm using Florentine Gold and Peridot)
Step one: clean any residue off your container with alcohol. I didn't have rubbing alcohol, so I used vodka. Works great!

Step two: sketch out a branch on your painters tape. (Stuck already? Google Image search "branch silhouette" Pick one you like. Print it out, cut it out, trace it onto your tape) Cut your branch shape out with scissors and smooth onto the outside of your glass.

You with me so far?
Great!
Tape around the bottom edge, about 1/2 an inch up from the bottom. This gives it a nice finished look when you're done AND prevents the glass from sticking to your work surface while it dries.
Step three: Squeeze the paint directly onto the glass. Dab it around with your sponge brush. I am holding the glass on the inside and rotating as I go.

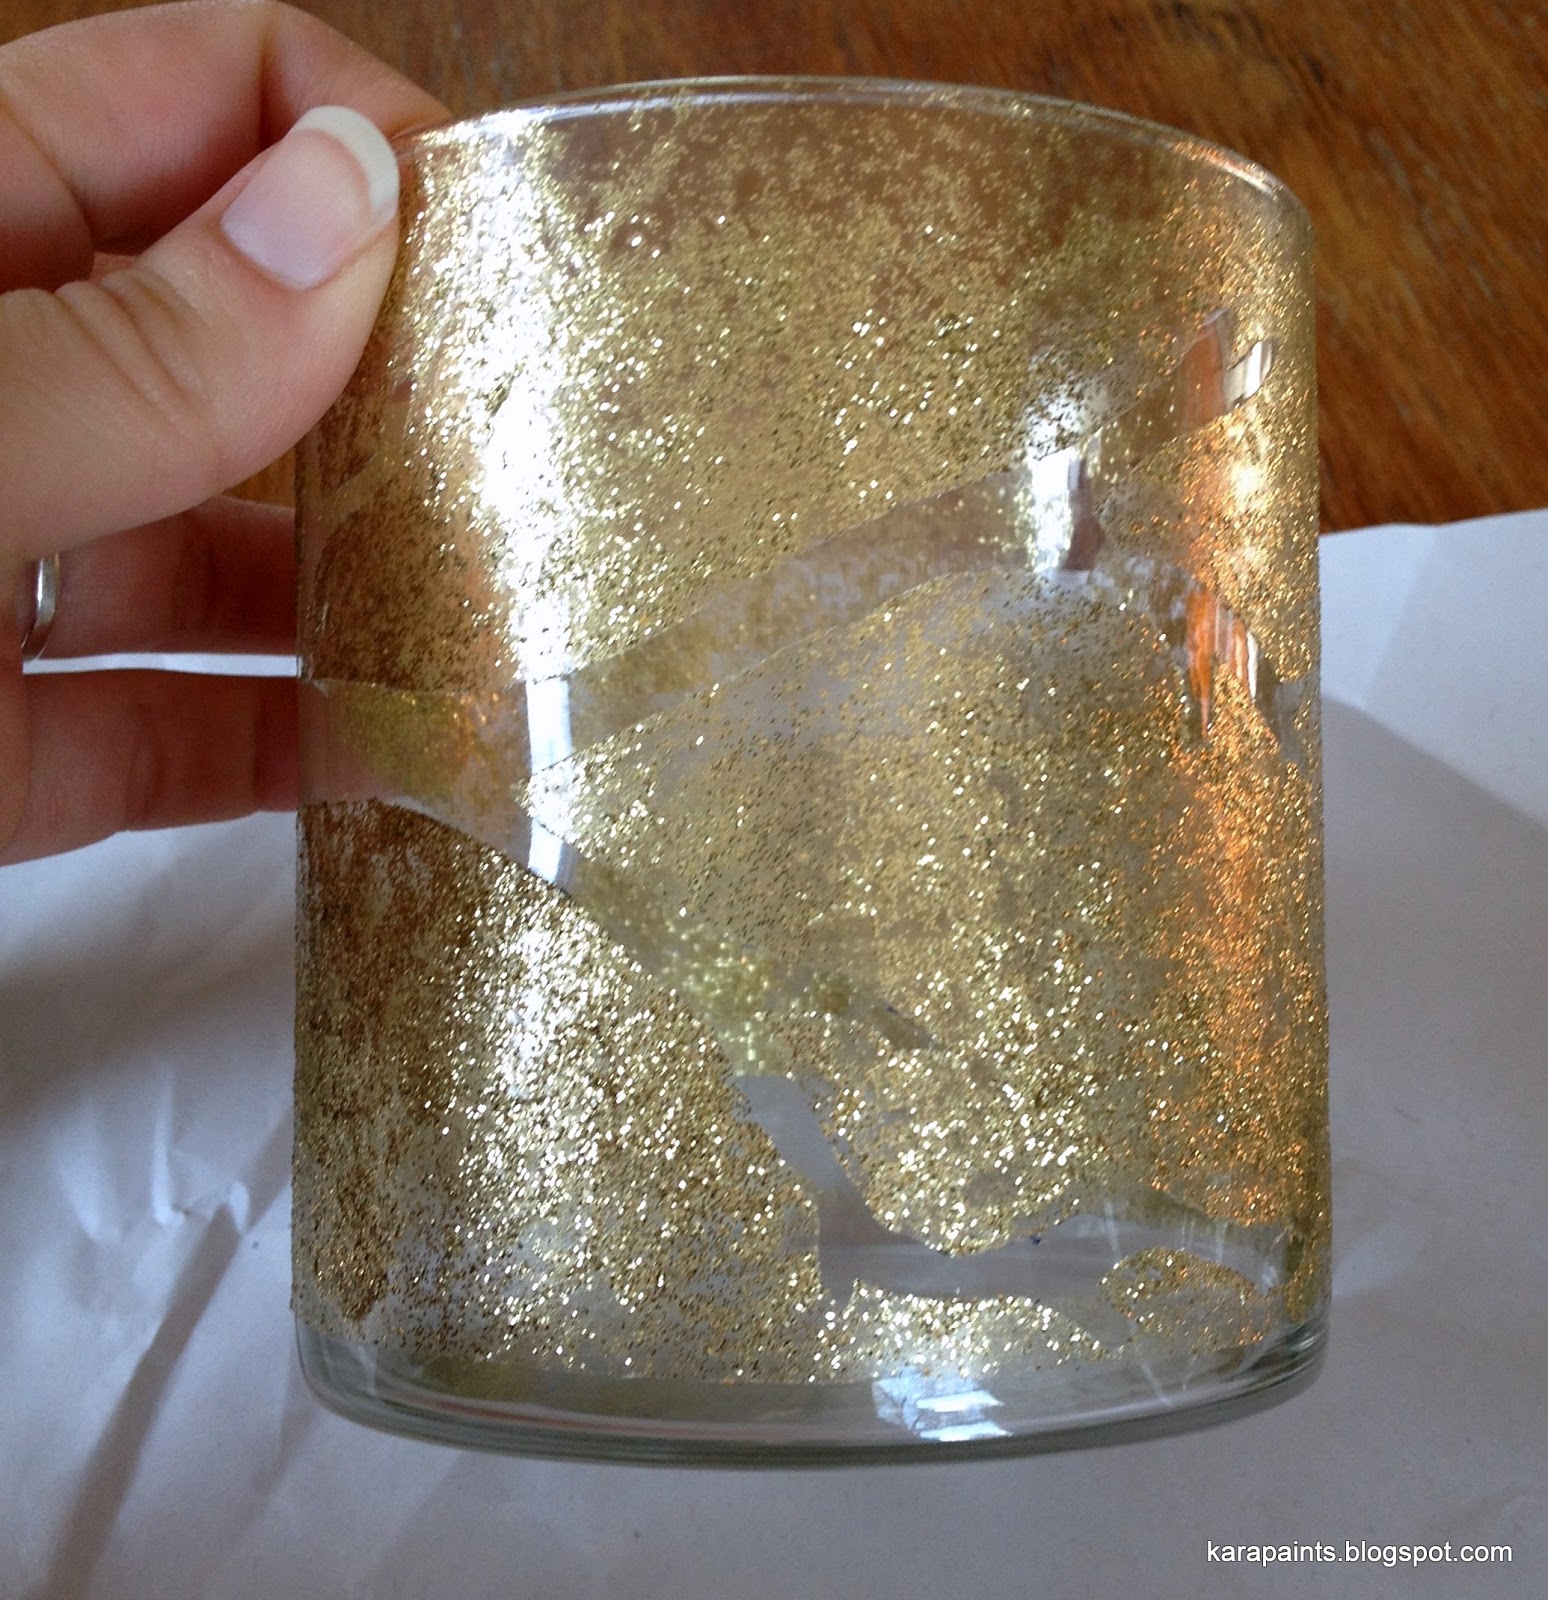
Step four: Wipe the paint off of the tape with a damp paper towel. Let it dry. I waited about 6 hours, and then did another coat of gold.

Step five: Peel off the tape. I neglected to wipe the paint off of the tape, so I had to cut around the tape with an exacto blade before I peeled it off.
It's pretty awesome like that, but I am a big fan of CONTRAST, so let's add some more paint.
Step six: Apply your second color of paint directly onto your branch outline. Dab into place with your sponge brush. If you color outside the lines, just wipe it off with a finger. The wet paint comes right off of the dry surface.

Step seven: let it dry and then fill it with whatever your heart desires. I'm going to fill mine with homemade gingerbread granola.

This post was inspired by Aunt Peaches and her glitter plates!
3 comments:
Love it! This looks like something I could even do! Thanks for the idea!
That stuff is great--there's none of that finding glitter for days afterwards business.
I liked it even before it got all the sparkles
Post a Comment